


RabbitMQ is a popular message broker that plays a crucial role in distributed systems. We often use a message queue between two microservices for efficient uptime of the service.
RabbitMQ helps when our app has many tasks or messages to handle. It's like a postman, making sure everything flows smoothly.
It prevents chaos. Imagine sending hundreds of letters at once. RabbitMQ ensures each one gets its turn at the right time, so there's no big mess and the system is not overwhelmed.
Concept of Message Queues
For more clarity, suppose you have two microservices that are intercommunicating with each other by HTTP requests. We may have several cases when the request per minute of one microservice differs from the request per second of another microservice. In this situation, one of the microservices may get bombarded with a lot of requests because of which it may get down.
To resolve this issue, we use message queues, which is a special type of queue (yes it's queue data structure) which stores the request coming from one microservice and delivers it to another microservice.
Practical Use Case of Message Queues
Assume we have two microservices namely A and B. A microservice is a ticket booking microservice of a flight booking application and B is the mailing microservice. Assume the request per second which microservice A requests to microservice B, is 100 per minute and let us assume that the request per second which microservice B can consume is 40 per minute. In this case, if we connect these microservices, we can face internal server errors as the mailing service will get bombarded with a lot of requests.
To prevent this situation, we can use message queues (we will use RabbitMQ in this case, however, there are several other alternatives as well). Message queue is a simple yet great system design to opt for while working with microservices.
The message queue is a cloud-based storage that will store the incoming requests from A microservice and B microservice will consume the requests by popping out the requests from the message queue one after the other, that's why we have used a FIFO (First In First Out) data structure. Isn't this amazing?
Why not Redis instead of RabbitMQ
Redis is a Database whereas RabbitMQ was designed as a message router or message-orientated-middleware (mom), so I'm sure if you look for benchmarks, you'll find that RabbitMQ will outperform Redis when it comes to message routing.
RabbitMQ is written in Erlang which was specifically designed by the telecom industry to route messages, you get clustering out of the box due to it being written in Erlang which means in a clustered environment, RabbitMQ will outperform Redis even further.
Furthermore, you get guaranteed delivery of messages due to the AMQP protocol, in other words, If a network issue occurs while a consumer is receiving a message, it can't acknowledge the receipt, so the message is dropped, and RabbitMQ requeues it. If a message isn't acknowledged by the queue due to network problems, RabbitMQ keeps retrying with increasing delays, like 5 seconds, 10 seconds, 25 seconds, and so on.
If you do manage to fill up the queue, Rabbit will block you from publishing any further messages until space becomes available (on a machine with enough RAM, that could be in the billions of messages)
Along with this RabbitMQ offers a range of powerful features which make it better to use instead of Redis:
It provides two queue modes: persistent for critical data and in-memory for non-persistent data.
In a clustered environment, it supports redundancy to ensure message availability even if one server fails.
Advanced routing schemes like direct, fanout, headers, and topic exchanges allow for flexible message routing.
The shovel plugin enables the secure transfer of messages between different RabbitMQ instances.
Virtual hosts enable message separation and controlled access, useful when contractors are working on the system.
Messages can be set to expire or be routed to dead queues based on specific criteria.
The Admin UI simplifies management, allowing you to configure routing, view statistics, and perform tasks without direct server access.
These features make RabbitMQ a comprehensive solution for efficient and flexible message routing.
RabbitMQ vs Apache Kafka
RabbitMQ is a traditional message broker that follows the Advanced Message Queuing Protocol (AMQP). It's designed for message queuing, and it's well-suited for scenarios where you need reliable message delivery and acknowledgement. RabbitMQ is great for applications that require complex routing and rules-based message processing
Apache Kafka is a distributed event streaming platform that is highly scalable and fault-tolerant. It's designed for real-time data streaming and processing of high-throughput, fault-tolerant, and real-time applications. Kafka is excellent for use cases like real-time analytics, monitoring, and log aggregation.
So we can use a message queue according to our use case. In this blog, we will cover the implementation of RabbitMQ using the 'ampqlib' package for NodeJS. If you need a blog for Apache Kafka as well feel free to contact me, I will be posting that as well on public demand.
Implementing Message Queues using RabbitMQ
Prerequisites:
Should have NODEJS installed on your system. if not, then you can download it from here.
Should have NPM/YARN installed, which we are going to use to import our packages.
Should have RabbitMQ installed on your system. if not then you can download it from here.
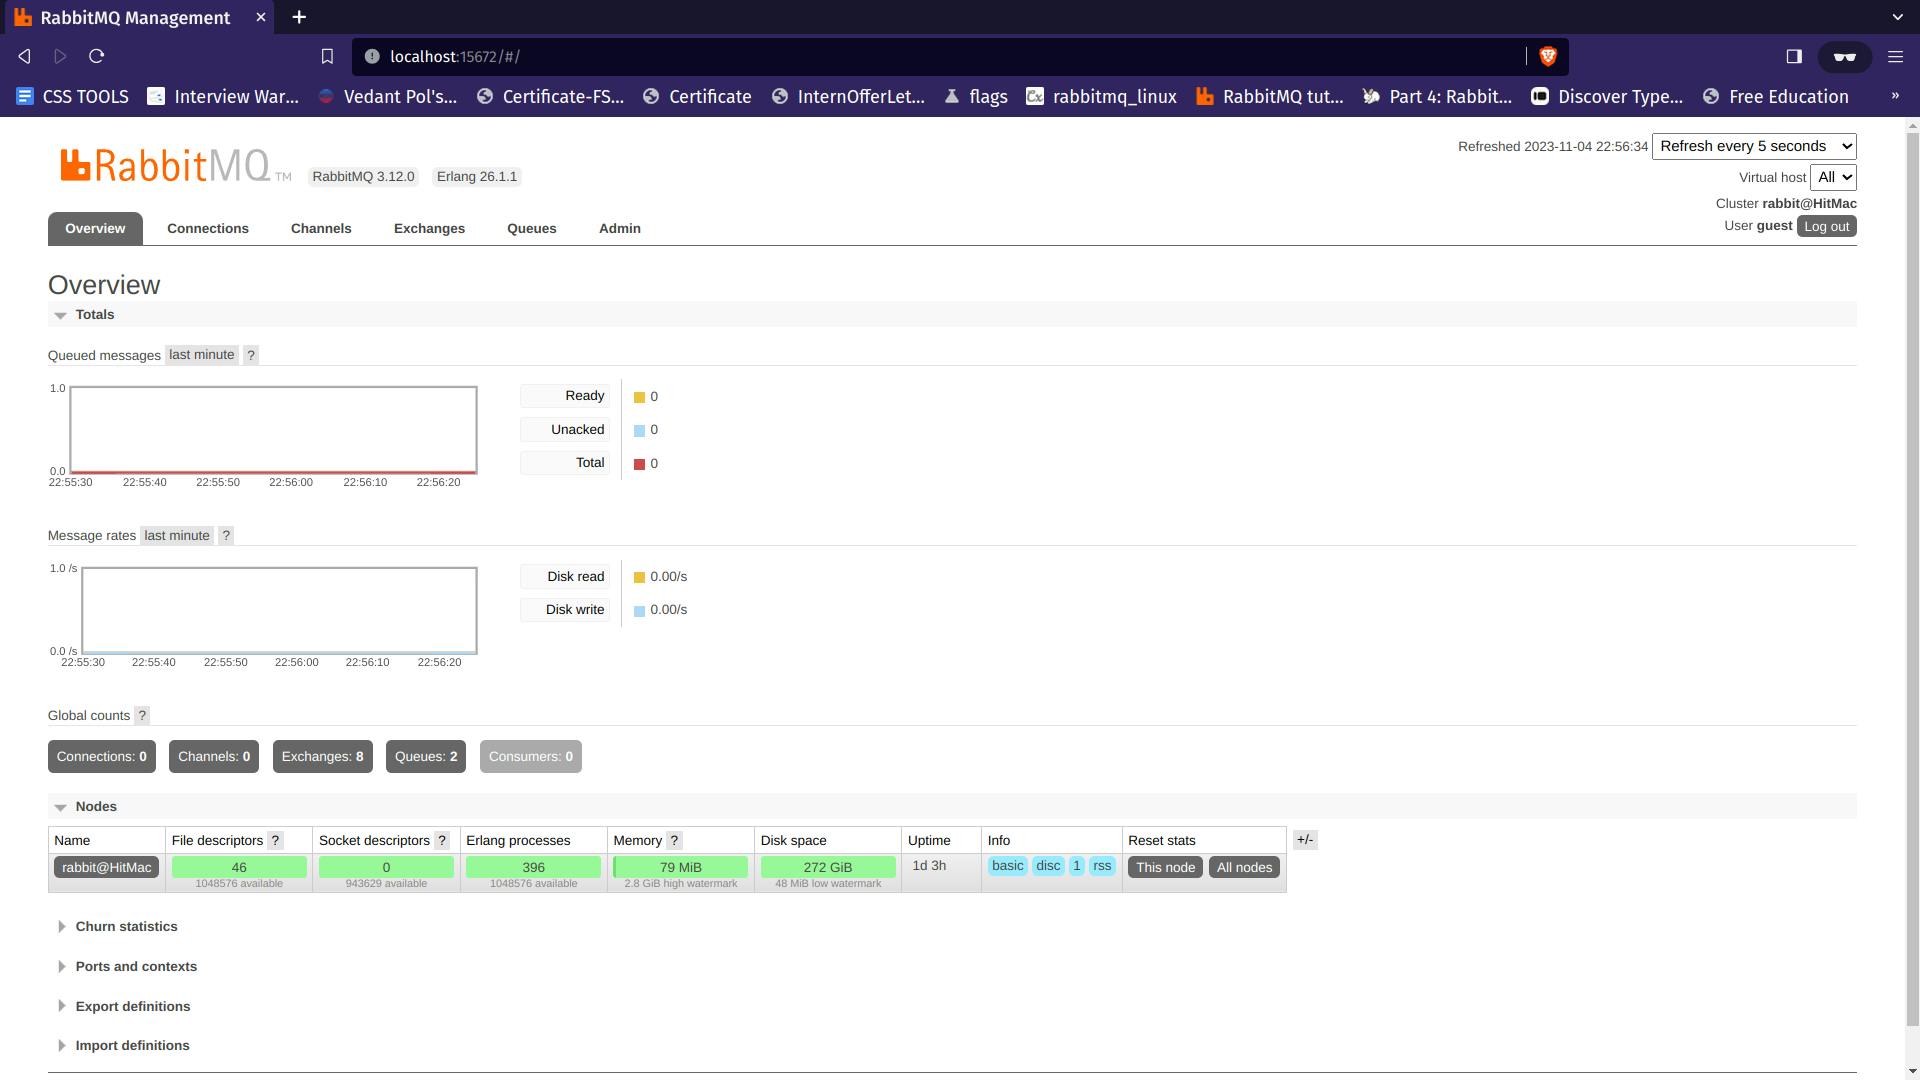
First of all, we need to install “amqplib” package so that we can communicate with rabbitmq. Before that, make sure you have rabbitMQ working in your local. You can check that by simply visiting http://localhost:15672/
The default login credentials are username = “guest” and password = “guest”, if you are running the queue with default settings. Once you are in, you’ll see something like this:
Now, you have rabbitMQ working. let’s install the package “amqplib” using npm (or yarn):
Setting up our first Microservice
Setting up simple NodeJS application
mkdir main-microservice
cd main-microservice
npm init
npm install express
npm install --save ampqlib
touch index.js
We have used Express to create a node.js application and ampqlib to create a message broker for the nodeJS environment.
Now let us set up our express application:
const express = require("express");
const app = express();
const PORT = process.env.PORT || 3001;
app.use(express.json());
app.get("/send-msg", (req, res) => {
    res.send("Hello world")
});
app.listen(PORT, () => console.log("Server running at port " + PORT));
We have defined a route /send-msg here, which we will be using later to send a message to the queue upon an API request.
Connecting to our queue
Now let's create our connection to the queue by using a try-catch block as we may encounter errors while connecting. We will be using async-await syntax, promise-based syntax can be easily found in the documentation of RabbitMQ.
const amqp = require("amqplib");

var channel, connection;  //global variables
async function connectQueue() {
    try {
        connection = await amqp.connect("amqp://localhost:5672");
        channel    = await connection.createChannel()

        await channel.assertQueue("test-queue")

    } catch (error) {
        console.log(error)
    }
}
Using the
connect()method, we make a connection to the server which is running at port 5672.We create a channel from the connection using which we can access the queues. (To understand more about connections and channels, visit this link.)
In the
await channel.asserQueue("test-queue")line, we check for a queue named ‘test-queue’. If that queue does not exist, a new queue is created with the provided name (here, ‘test-queue’).Now we can use the connectQueue function to create a channel for connecting to the message queue.
Creating a function to send messages to the queue
async function sendData (data) {
    // send data to queue
    await channel.sendToQueue("test-queue", Buffer.from(JSON.stringify(data)));

    // close the channel and connection
    await channel.close();
    await connection.close();
}
We pass the message to this sendData function using function parameters.
The
channel.sendToQueue()method is used to send the message to the specified queue. It takes two parameters, the name of the queue and the message to be sent.
Define an API for sending a message to the queue
app.get("/send-msg", (req, res) => {

    // data to be sent
    const data = {
        title  : "Learn Message Queues",
        author : "HashNode"
    }
    sendData(data);  // pass the data to the function we defined
    console.log("A message is sent to queue")
    res.send("Message Sent"); //response to the API request

})
- We have modified the route ‘
/send-msg’ to send a message to the queue when it is called. We use the functionsendData()(which we defined earlier) to pass the message.
Setting up client microservice
Setting up simple NodeJS application
mkdir client-microservice
cd client-microservice
npm init
npm install express
npm install --save ampqlib
touch index.js
Now let us set up our express application:
const express = require("express");
const app = express();
const PORT = process.env.PORT || 3002;
app.use(express.json());
app.listen(PORT, () => console.log("Server running at port " + PORT));
Our client microservice runs at the PORT 3002 port and main-microservice is running at the PORT 3001
Connection to the ‘test-queue’
We will make a connection to the test-queue in the same way as we did in the main-microservice running at PORT 3001. Then, we consume the data from the queue and acknowledge it.
const amqp = require("amqplib");
var channel, connection;
connectQueue()  // call the connect function

async function connectQueue() {
    try {
        connection = await amqp.connect("amqp://localhost:5672");
        channel    = await connection.createChannel()

        await channel.assertQueue("test-queue")

        channel.consume("test-queue", data => {
            console.log(`${Buffer.from(data.content)}`);
            channel.ack(data);
        })
    } catch (error) {
        console.log(error);
    }
}
The message from the queue is read using the consume() method. It takes the name of the queue ( here, ‘test-queue’ ) as a parameter and returns the message from the queue as a callback.
The channel.ack() function is used to acknowledge that the particular message has been received by the ‘client-app’.
Testing
Now we can test our message queues. Simply open a terminal in main-microservice and run the server by node index.js. Now, let’s try to send a message from the main app. Our provider app is running at http://localhost:3001. When the route ‘/send-msg’ is called, and the message will be sent to the queue. We can directly hit the API using the browser as we are using the GET method.
Now we can open another terminal and run the client-microservice. As we start the microservice we can observe that the message sent to the queue was consumed and the queue is empty now. Go on play with this and refer to the official docs of RabbitMQ for more clarity.
Conclusion
For more clarity I would suggest you go through these documentations, they are one of the best resources that I found on the internet for RabbitMQ:
It takes a lot of research and hardwork to put these type of content here, make sure to upvote!
Happy Coding!